Synology DS1821+ Initial Setup and Review
/I am very excited to share that the amazing marketing team at Synology has sent me a DS1821+ to take for a spin in my home lab (thanks Kyle and team!).
If you like full featured storage platforms for your home or business you should have a look at their portfolio. I have had my 8-bay DS1815+ for many years and run file services, manage multimedia, data protection, and several other applications for our household. In my original home lab I ran both iSCSI and NFS volumes for a physical vSphere environment on HP DL380’s. I started with the intention of using it for learning and experimenting outside of work, and quickly learned that it does that very well, but it also has an amazing ecosystem of product partners and Synology’s own products in its application packages, all available in the management platform DiskStation Manager. Extending the functionality is easy and usually at low to no cost!
I recycled the 380’s a couple of years ago and this time around will use a MiniPC and add 10 GbE networking to the mix. A lot has changed since my model came out and Kyle was kind enough to talk to me about where Synology is going and how they have been growing their offerings in the mid market and enterprise space, including 10 GbE networking support, advanced caching and their own line of hard drives. This unit will have three large capacity drives, NVMe cache drives and the newly announced Synology E10G21-F2 Dual-Port SFP+ 10GbE Adapter.
Time to revisit the home lab (it’s been sleeping…)
For the 10Gbps aggregation switch I elected to invest in an Ubiquiti US-16-XG and a USW-PRO-24 (for my garage wiring closet fiber run project). The switches, optics and cables are on order , so I likely will start the DS1821+ on copper Gigabit while I wait on the delivery early next month. For the MiniPC, I selected a model powered by an Intel i5-10210U chipset (quad core), dual port gigabit networking, a local NVMe drive and 16 GB of RAM. I will run vSphere 7 for the virtualization stack
(thanks Corey and vExpert Community!).
A huge thanks to Synology for providing me the opportunity to try this unit out. I will have my much loved DS1815+ to compare to, and I am very interested to see how my setup compares to the latest lineup! See below for my experience…
Unboxing and first impressions

DS1821+
The unit and components arrived in three boxes: the main DS unit, hard drives, and 10 GbE networking card.
The DS unit was wrapped and packed snugly in an easy to open box, which was shipped in a perfectly fitted outer box to protect it on its journey through the UPS logistic network to my door. The packaging was very compact and efficient. The only comment I would make is that I would love to see an all cardboard solution and eliminate plastics as much as possible to reduce environmental impact. I don’t know if this is possible yet, but something to strive for.
Components
I was able to put together everything including all the extra parts that the Synology team was nice to send.

Well packaged

SNV3400 400TB NVMe Cache Drives for some punch!

HAT5300 8TB Drives for data

Synology E10G21-F2 Enterprise ready 10GbE SFP+
The case was easy to open and self service, and everything is neatly laid out in place. No need to tuck in cables or worry about how the access panels or case fits together. You just need a Phillips screwdriver (PH2) to open up the case or access panels. I recommend a static strap or a static free workbench if you have one. 3.5” drives can be installed with or without screws thanks to the easy to use Synology drive bay cassettes, although 2.5” will require screws (provided in the box).

Having a look at the memory modules, nice and accessible underneath the unit.

SNV3400 400TB NVMe Cache drives that don’t take up a bay anymore…

Pleased to see the cache drives inside the drive bays. Removing drives 1-4 provides lots of room to access and install

Installing the PCIe 3.0 card for E10G21-F2 10GbE was easy and clean

Rear view of the DS1821+ with optional E10G21-F2 installed. Clean layout easy to use and access ports for 2 disk expansion units, USB3, gigabit and PCI 3.0 slot.
All of the manuals and guides are readily accessible on Synology’s site.
Comparison (DS1815+ vs DS1821+)
First impression was the unit was slightly larger than the DS1815+ and the build was the same high quality I have come to expect from Synology.
When I originally invested in my DS1815+ I was impressed with the bring your own disk approach and flexibility that came with the platform, it felt enterprise grade but was approachable for an enthusiast that wanted 8 drive bays and networking options with multiple ports.
That continues with the DS1821+. You get great flexibility to use your existing disk or source your own (as before) and now have the option of Synology’s own disks and expansion port options, all with strong warranties.
More modern ports are now on the unit and other than it being slightly taller, it looks very similar with a reasonable footprint for an 8 bay small office or mid-sized business storage platform.
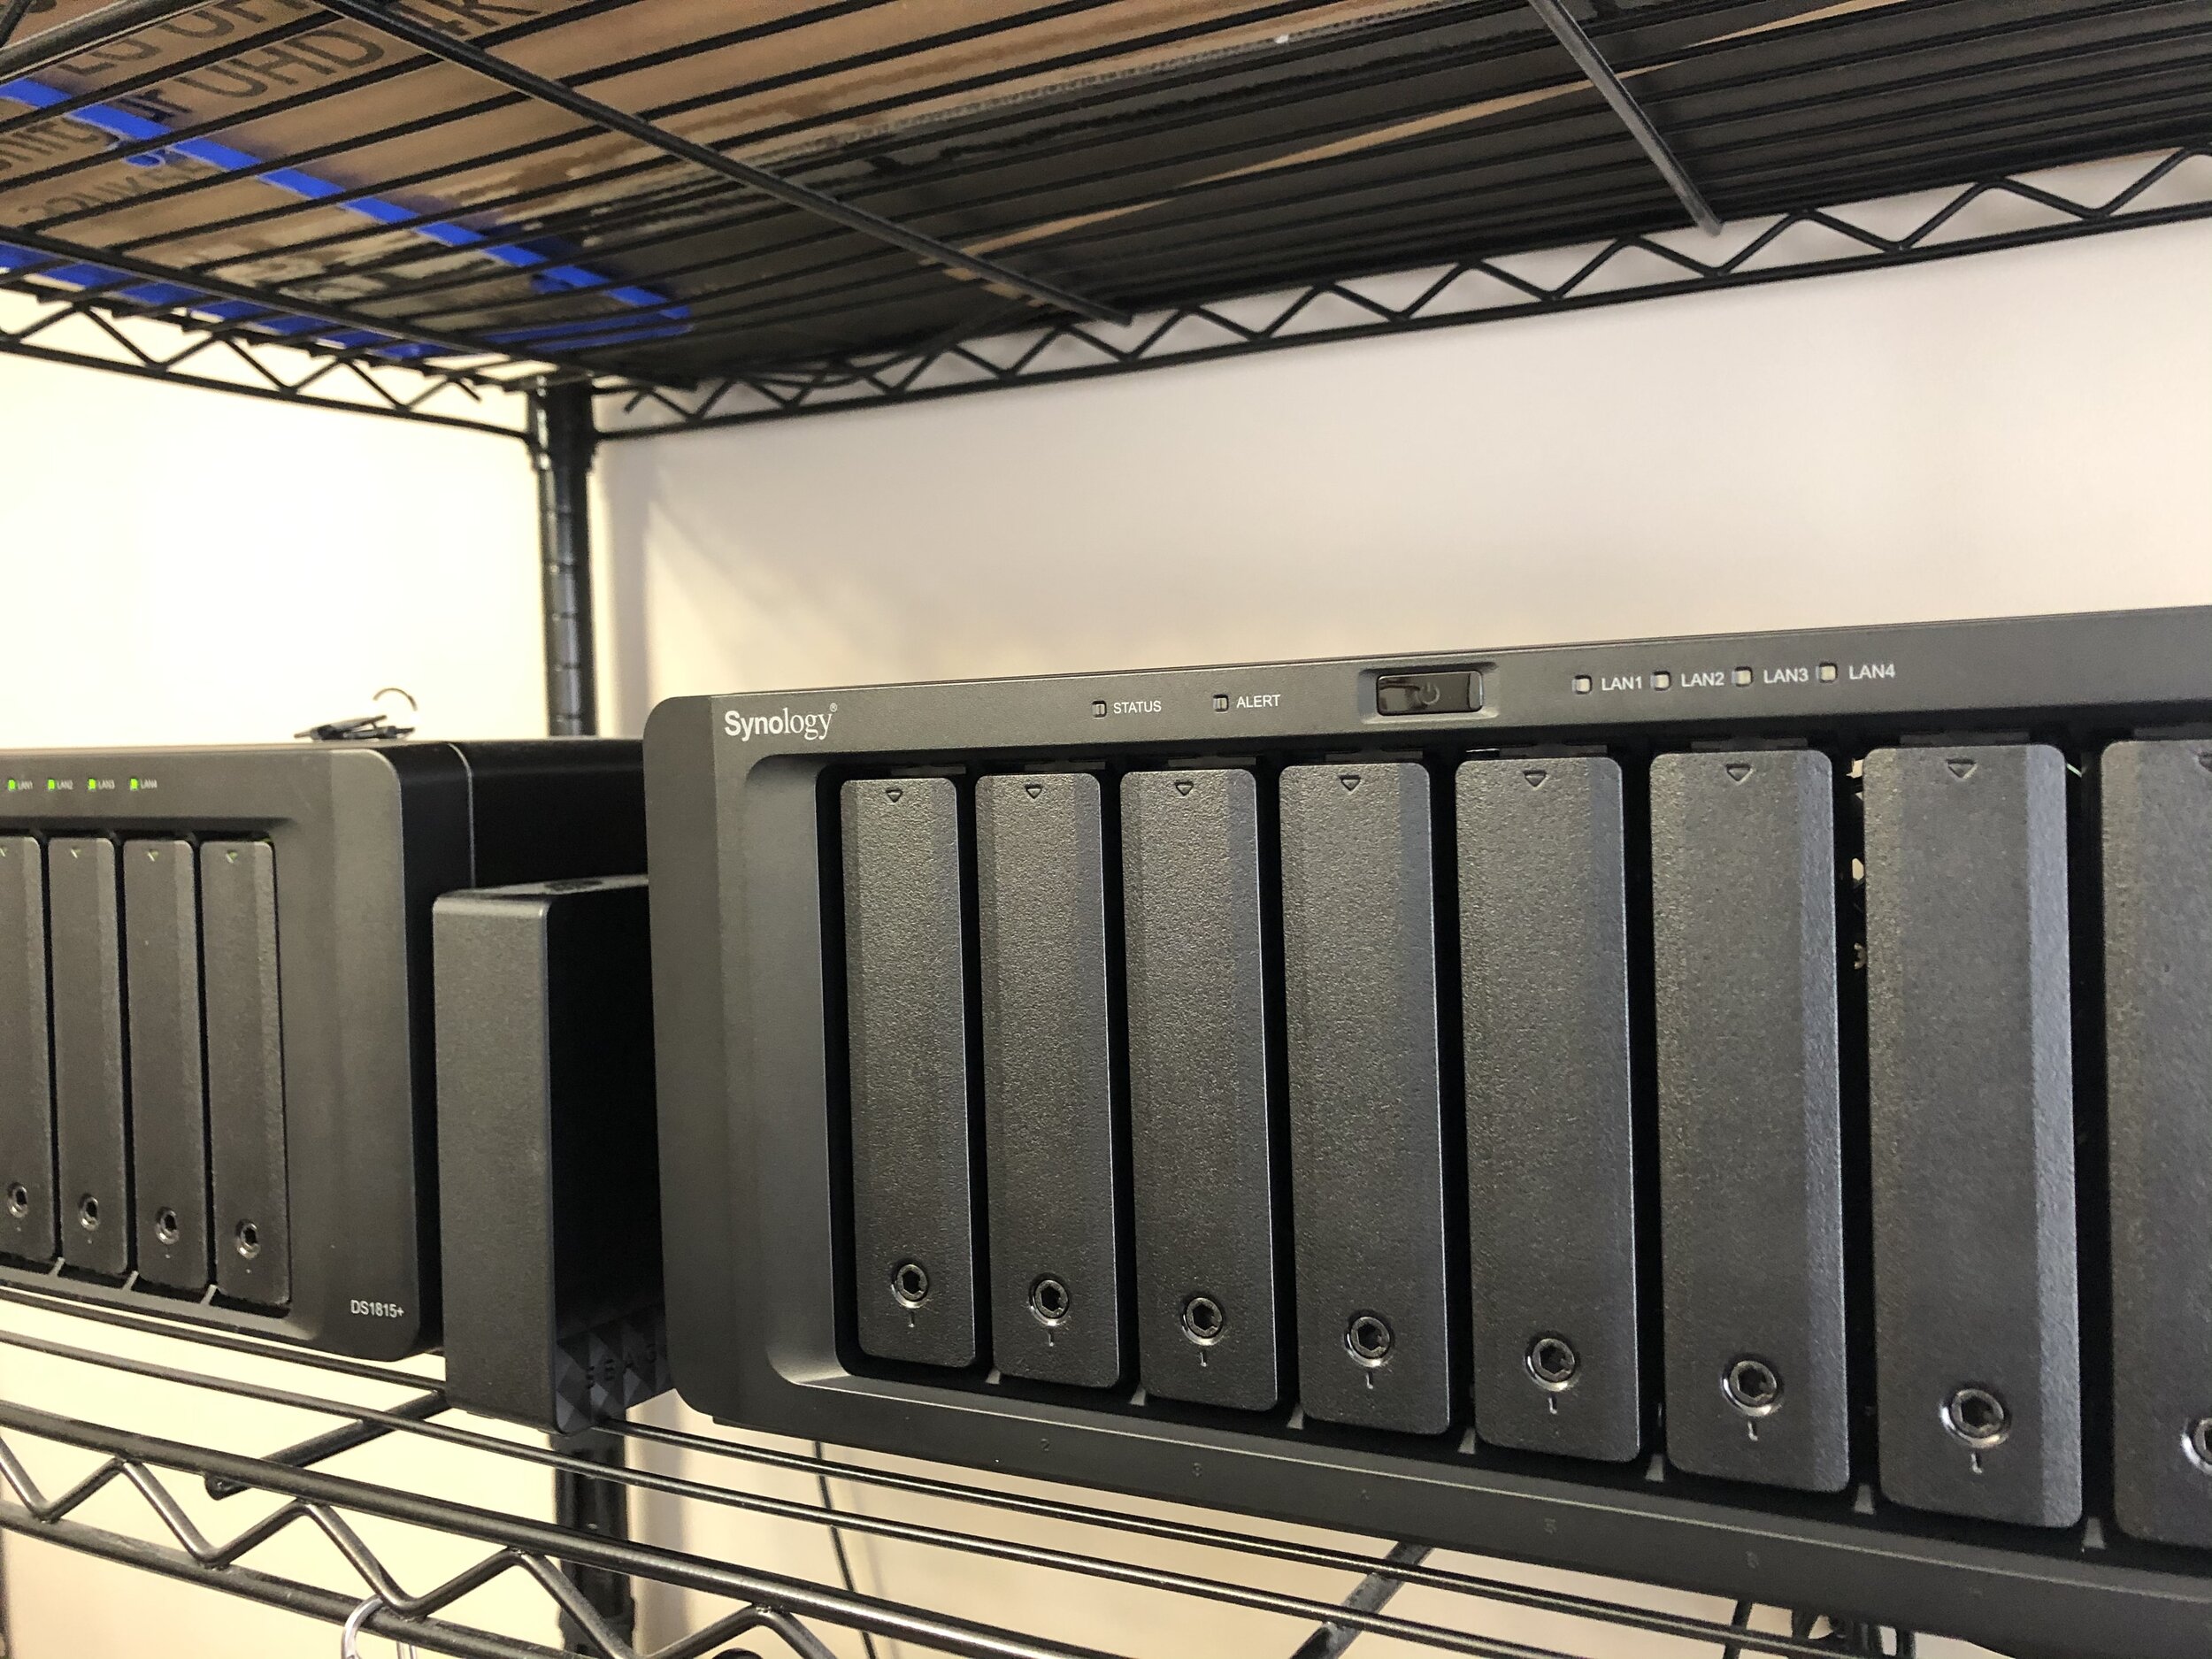
Next to older sibling DS1815+, the DS1821+ is a slightly larger footprint

Front accessible USB3 port is a nice touch